This guide will help Thinkific Course Creators measure the effectiveness of their Google Ads campaigns by implementing Google Ads Conversion Tracking for Thinkific purchases.
We will leverage the events and data setup for sending Purchase information to Google Analytics 4 (GA4), to also send what is needed to Google Ads.
Table of Content
Setup Google Analytics 4 Purchase Tracking
We will be leveraging the tracking that was created in How to Track Thinkific Purchases with Google Analytics 4 (GA4) Using Google Tag Manager (GTM). Ensure things are setup according to that guide.
Create Data Layer Variables from GA4 Purchase Event
Will use the data that is already in the Data Layer for GA4 and create Google Tag Manager variables that will get the values we need to use with the Google Ads Conversion Tracking tag.
Create Data Layer Variable to Get Ecommerce Value
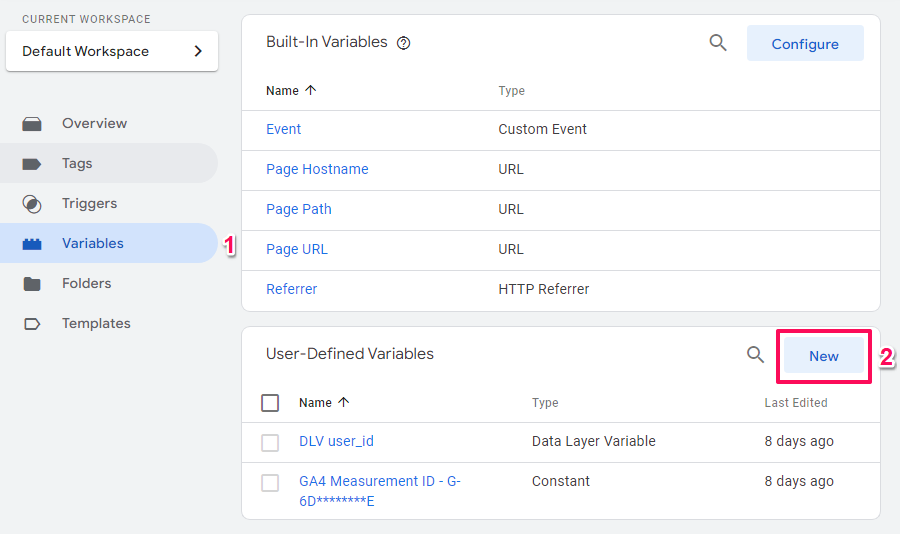
In Google Tag Manager, go to Variables > New
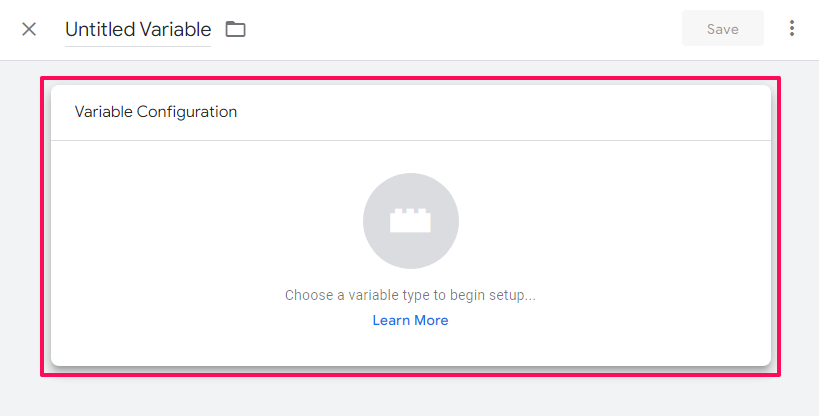
Click Variable Configuration
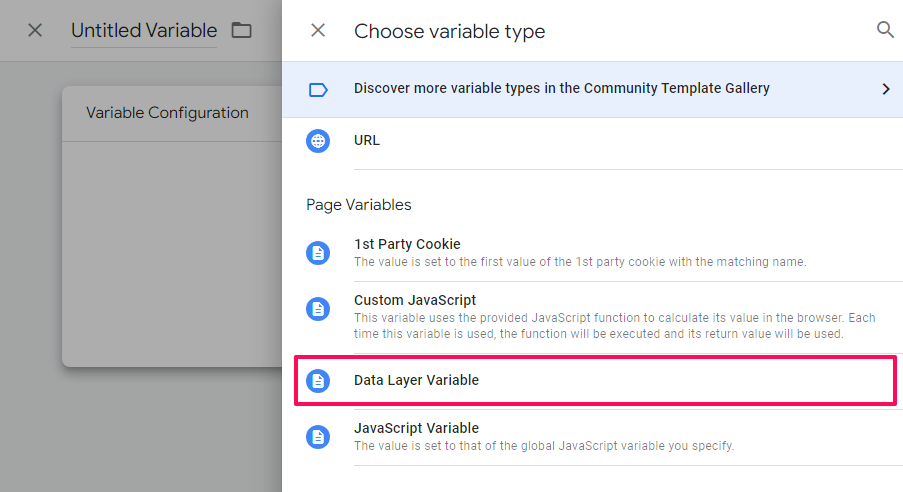
In the Page Variables section click Data Layer Variable.
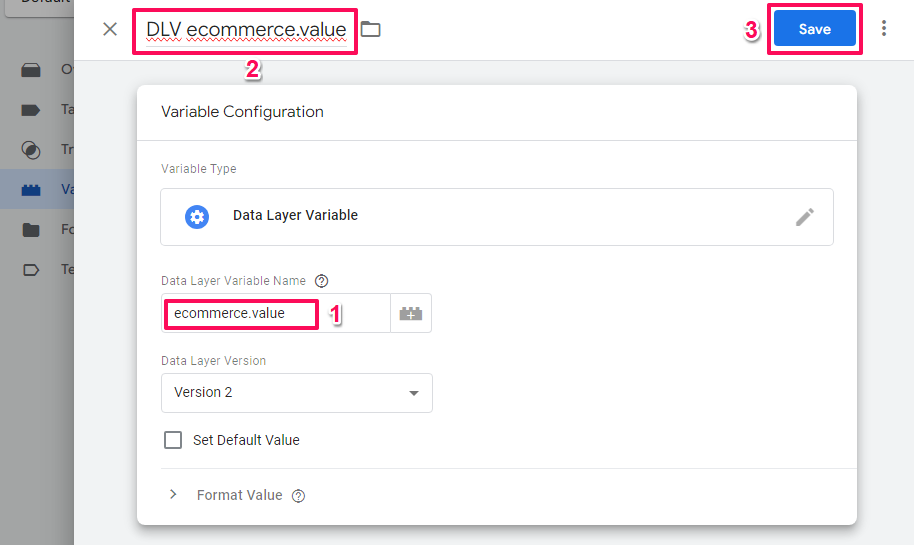
- Enter ecommerce.value in the Data Layer Variable Name field.
- Enter a name for the the variable (eg. DLV data_layer_variable_name).
- Click the Save button.
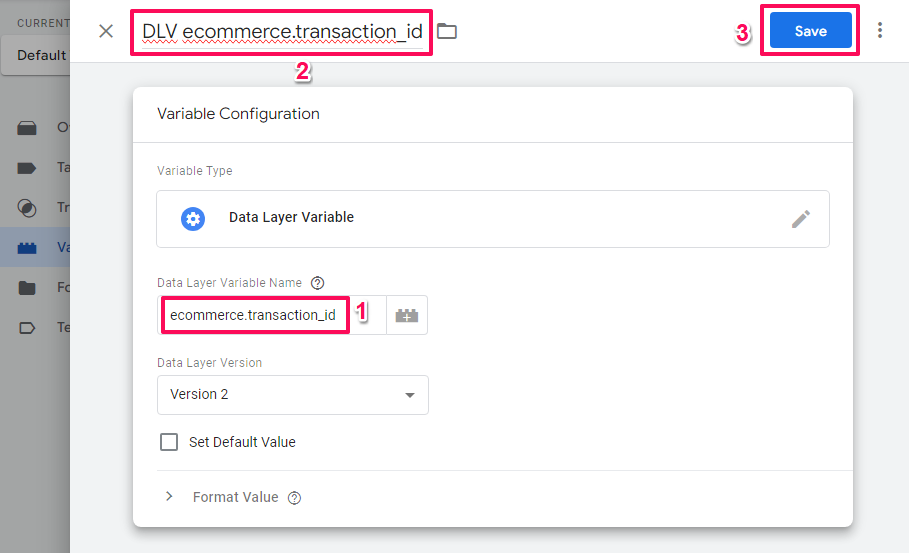
Create Data Layer Variable to Get Ecommerce Transaction ID
- Go to Variables > New > Variable Configuration.
- In the Page Variables section click Data Layer Variable.
- Enter ecommerce.transaction_id in the Data Layer Variable Name field.
- Enter a name for the the variable (eg. DLV data_layer_variable_name).
- Click the Save button.
Create a Website Conversion Action in Google Ads Account
The Conversion Action is how Google Ads know which purchases can be attributed to customers who came from ads.
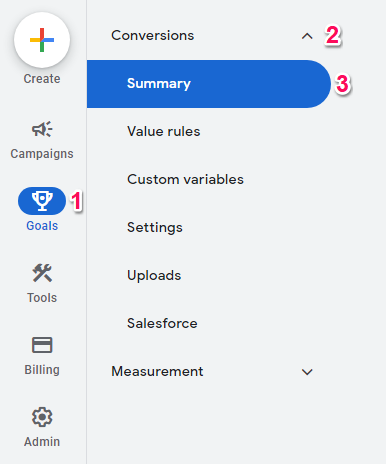
- Sign in to your Google Ads account.
- Look to the left of the screen and click Goals > Conversions > Summary.
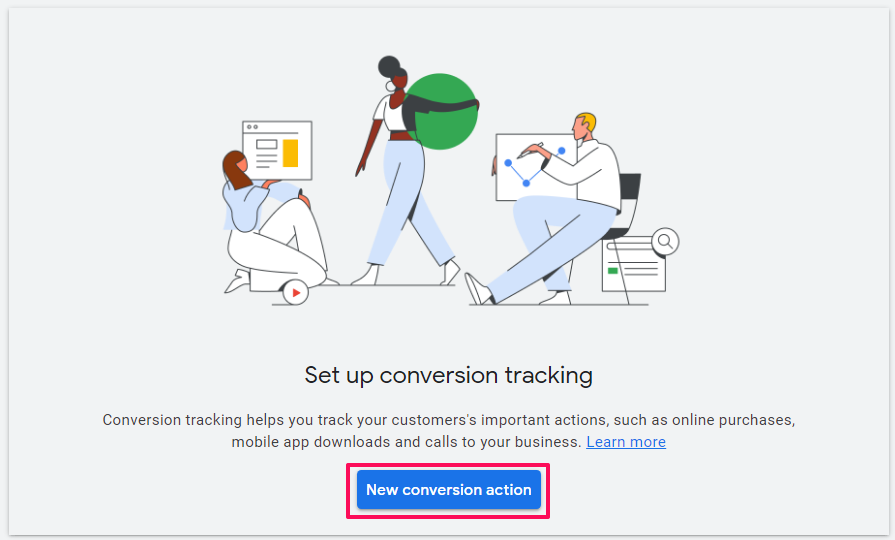
Click the New conversion action button. The location of the button varies depending on if the are existing conversion actions or not. The image below are how it looks when there are no existing conversion actions.
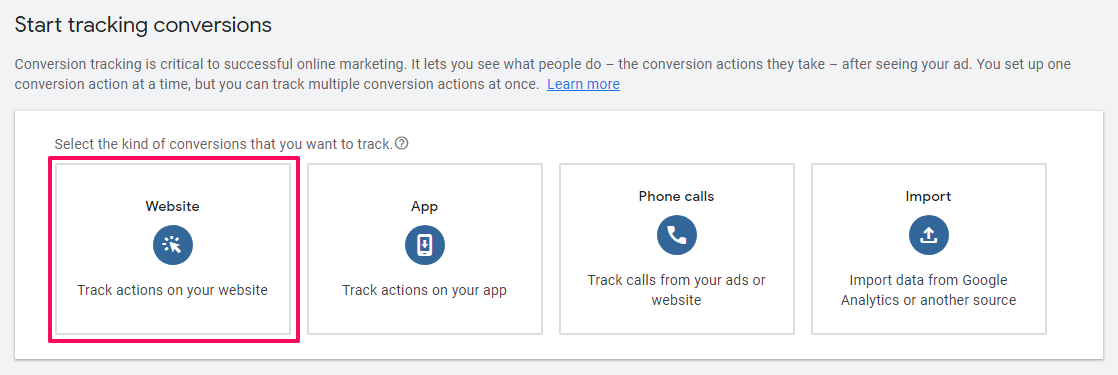
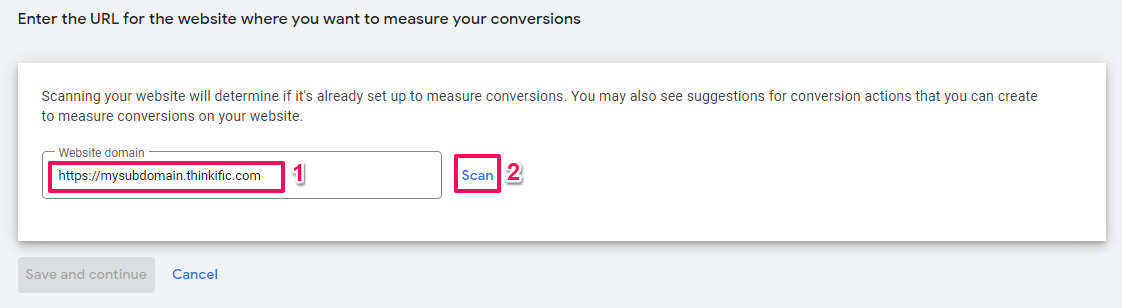
Select Website as your conversion source.
- Enter the your Thinkific Website domain.
- Click Scan.
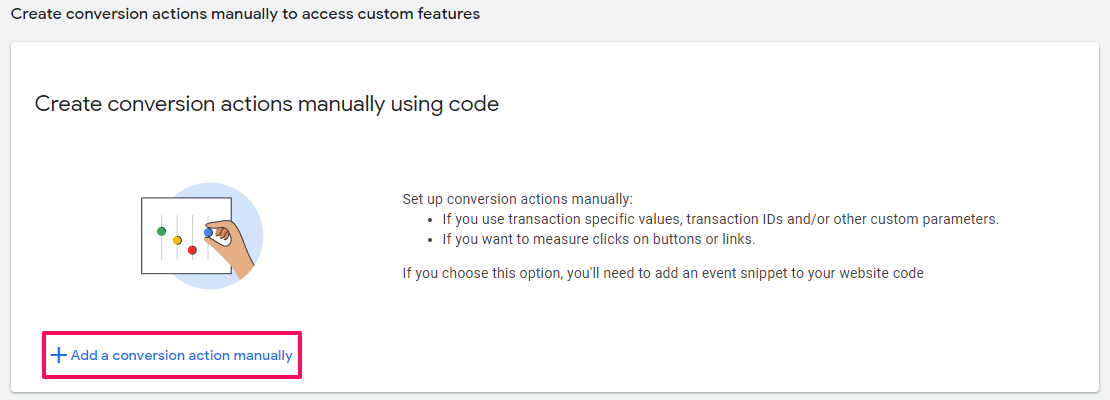
After the scan is complete:
Click Add a conversion action manually.
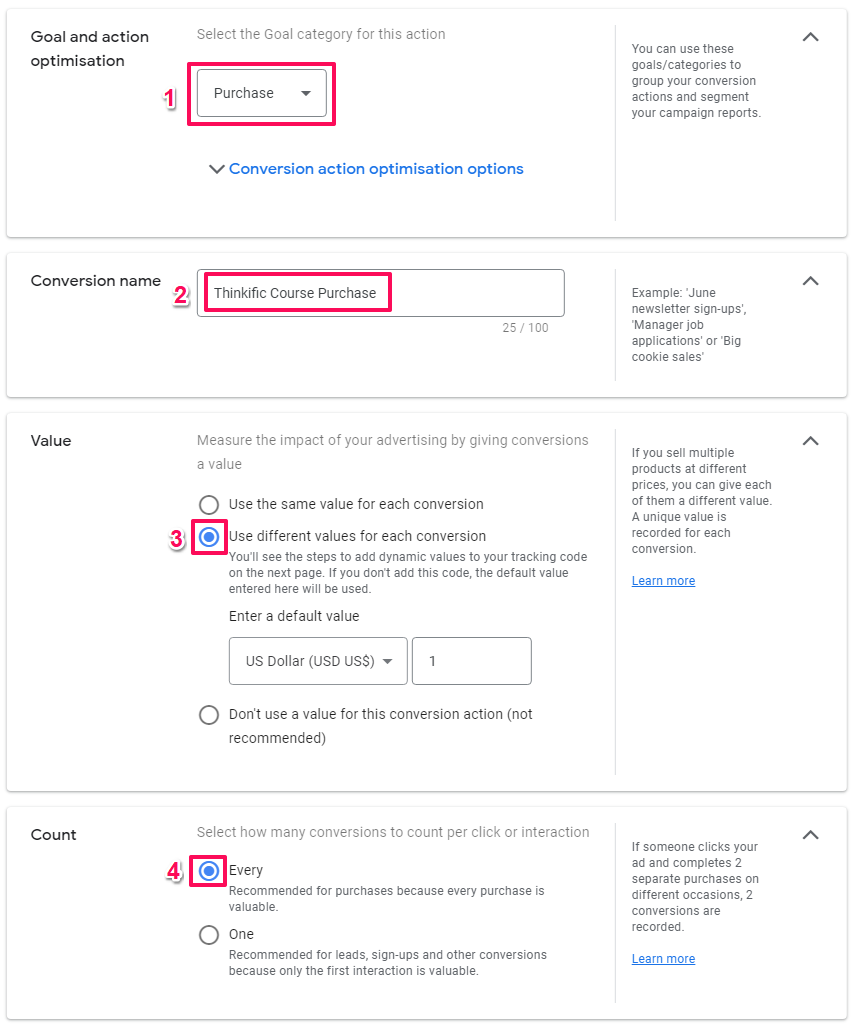
- Select Purchase for the Goal and action optimisation.
- Enter a Conversion name.
- Select Use different values for each conversion.
- Ensure Every is selected for Count.
Click Save.
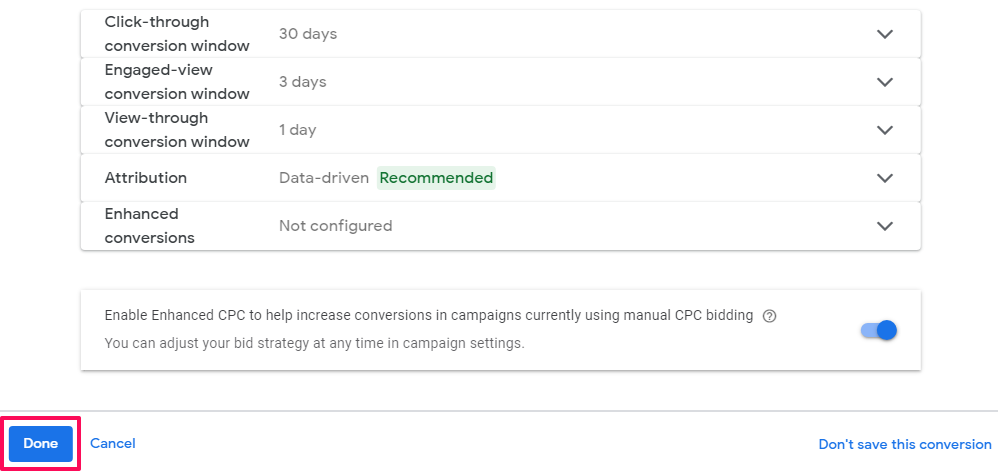
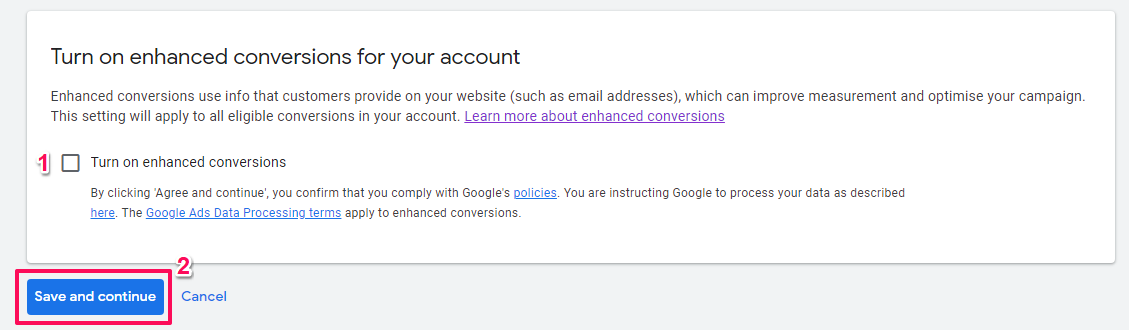
Google introduced the concepts of Enhanced Conversions where email and other user data can be encrypted and sent in a Privacy Compliant way. This scope of this guide does not cover the use of such data and it is not included in the Data Layer created, so Enhanced Conversations will not be used.
- Uncheck Turn on enhanced conversions.
- Click Save and continue.
- Select Use Google Tag Manager.
- Copy the Conversion ID.

Create Google Ads Conversion Tracking Tag in GTM
In Google Tag Manager:
Go Tags > New > Tag Configuration > Google Ads > Google Ads Conversion Tracking.
A conversion linker is needed, so create one if not present:
- Next to the Conversion Linker tag missing in container text click Create.
- Give the conversion linker a name.
- Click the Save button.
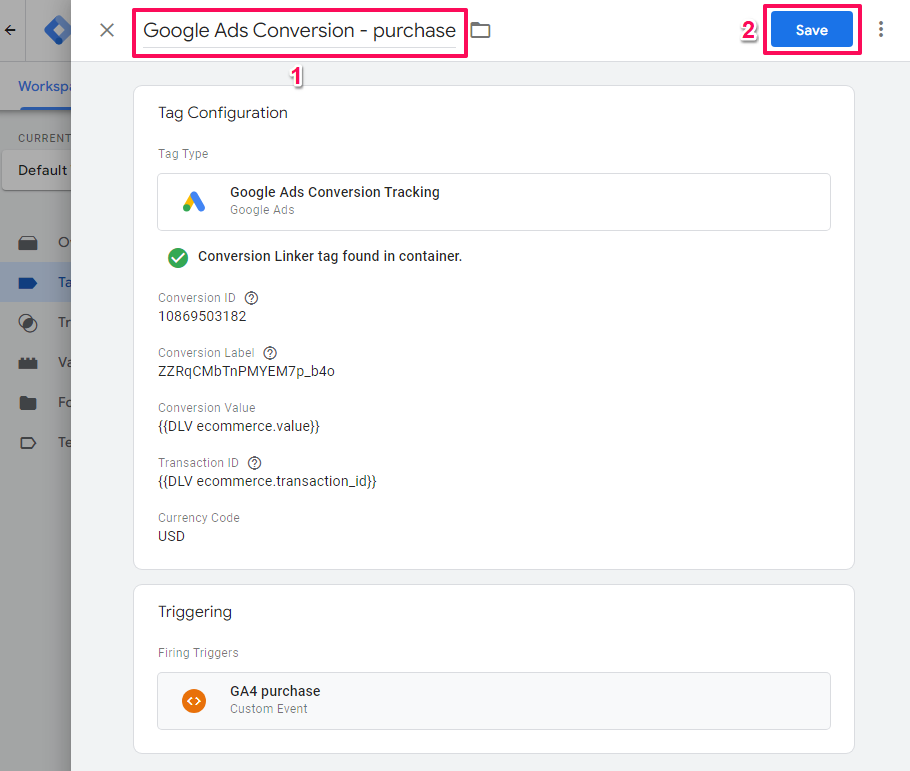
- Paste the Conversion ID copied previously into the Conversion ID field.
- Return to Google Ads and copy the Conversion Label (click Done).
- Past the Conversion Label in the Conversion Label field.
- Click Select Variable icon the right of the Conversion Value field.
- Select the ecommerce.value variable created previously.
- Click Select Variable icon the right of the Transaction ID fields.
- Select the ecommerce.transaction_id variable created previously.
- At the bottom of the screen click Triggering.
- Select the GA4 purchase event.
- Give the tag a name.
- Click Save.
Preview Using GTM to Verify Things are Working
Using the Preview mode in GTM, do a test purchase then, verify that the Google Ads Conversions tag has fired.
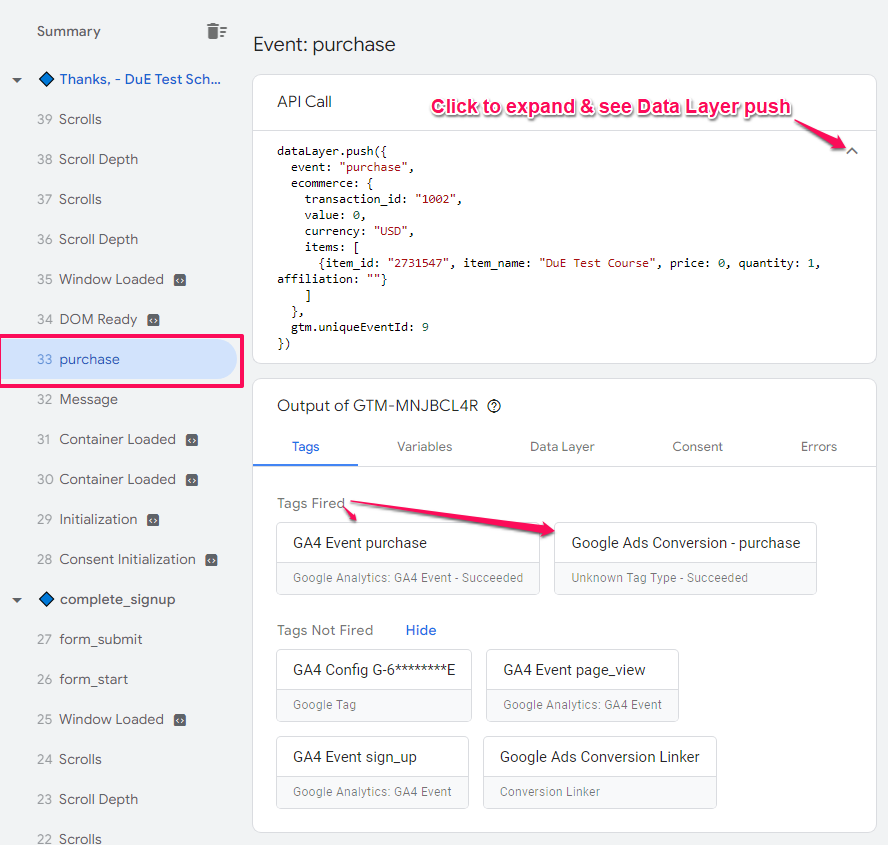
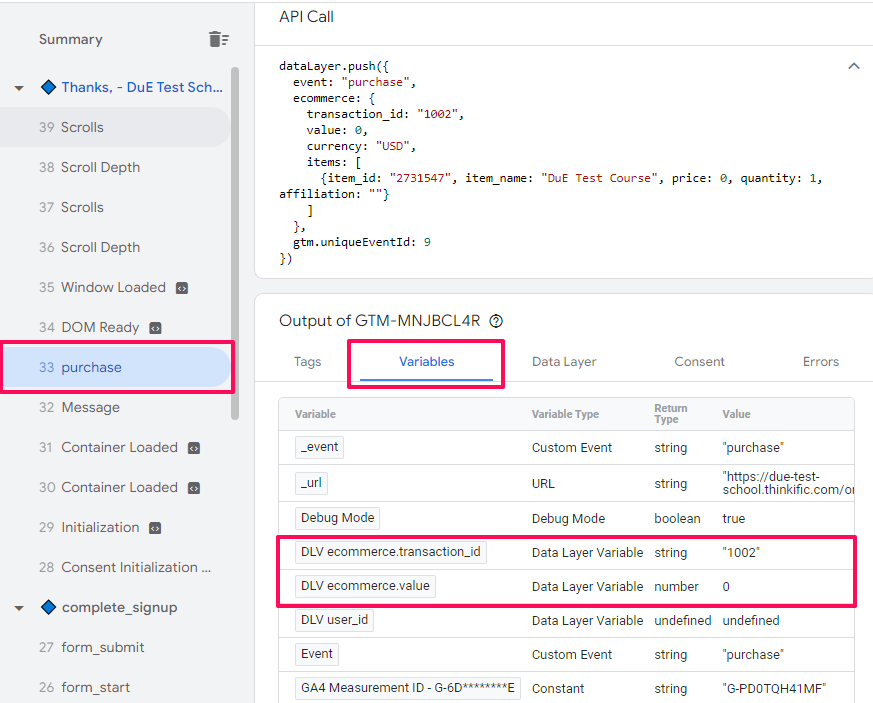
Next, go the the Variable tab and verify the variables that were used in the Google Ads Conversions tag has the correct values. You can expand the API Call section to the top to see the values in the Data Layer push and verify that they match.
Next Steps
Monitor and Optimise Your Campaigns
Now that conversion tracking is active, focus on using the data:
In Google Ads: Review the Conversions report to see which campaigns, ad groups, and keywords drive Thinkific purchases. Use this data to increase budgets on high-performing campaigns and pause or refine underperforming ones.
In Google Analytics 4: Access the Advertising workspace to see how Google Ads traffic behaves compared to other sources. The User Acquisition and Traffic Acquisition reports show whether paid traffic engages as deeply as organic visitors.
In Looker Studio: Use the Actionable Google Marketing Template to see Google Ads spend, Thinkific revenue, and conversion rates in a single view across all your marketing channels.
Understanding the Complete Measurement System
Google Ads conversion tracking tells you which ads drive purchases, but it’s one component of a complete measurement infrastructure. Understanding how it connects with GA4 event tracking, UTM parameters for attribution, and cross-platform reporting creates a system that shows not just which ads convert, but how paid traffic behaves throughout the entire customer journey.
How to Build Your Marketing Measurement Foundation shows you how Google Ads conversion tracking integrates with your complete measurement infrastructure, enabling you to compare paid performance against organic channels and calculate true ROI across your entire marketing mix.
If You Need Help
Platform-specific conversion tracking like Thinkific requires coordinating Data Layer events, GTM variables, GA4 configurations, and Google Ads conversion actions. Our Marketing Measurement Foundation service provides complete implementation across all platforms and integrations if you prefer expert setup.